The start of a tradition…
For the past few years, I’ve spent time with my family during Christmas to create these delicious dumplings. Now it’s become a tradition that we look forward to enjoying together. It took several occasions for my sister and I to finally get used to the fine motor skills required to fold the dumplings but now it seems like, according to my mum, we’ve got the process down pat. Each person had a particular role. My sister and I were in charge of chopping up the vegetables into tiny pieces for the filling, as well as filling up the dumplings and folding them. This fun, hands on activity is definitely a highlight of my Christmas!
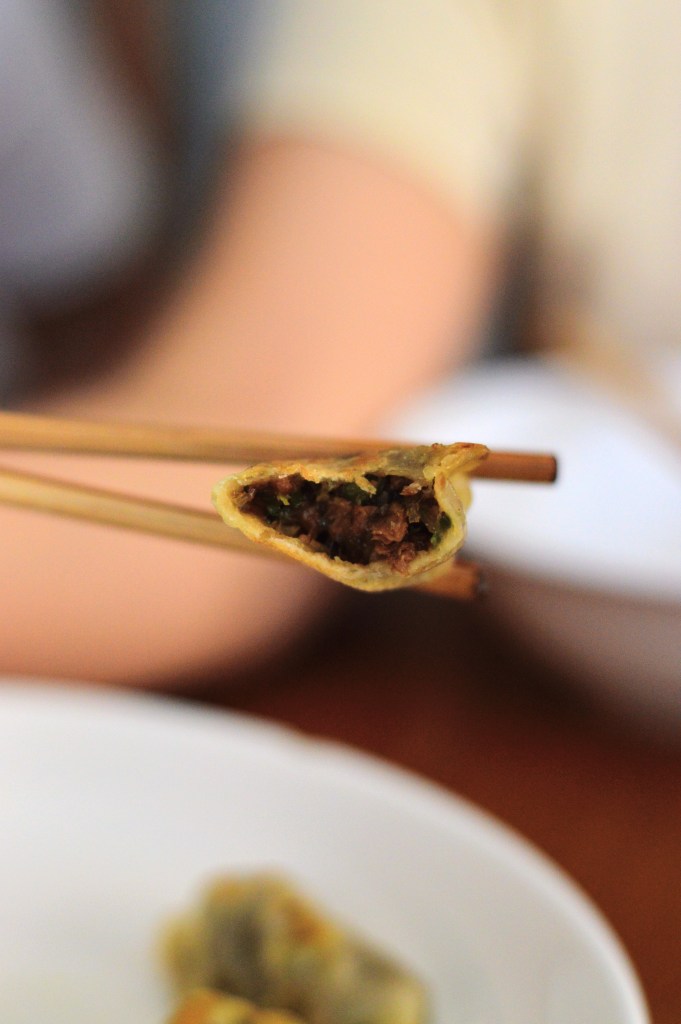
The non-vegan version includes minced meat and sometimes shrimp, which allows the filling to become sticky and cohesive. For this vegan version, it lacks that fatty oiliness which is easily aided with some corn starch, vegetable oil and the rest of the sauces.
Using Textured Vegetable Protein (TVP)
Textured vegetable protein is used to replace the texture of minced meat. I love using it in bolognese sauce and it really is such a great mince substitute that is cheaper, healthier, more sustainable and a thousand times more ethical. You can find it at most large supermarkets in the health food aisle.
I didn’t use exact measurements. As long as the filling sticks and can be moulded into a solid shape, you’re good to go. You can play around with the flavourings too and taste as you add your flavourings in. The good thing is with vegan cooking is that you’re less likely to get poisoned from eating your food ‘raw’.
Filling
- 1.5 cups soaked textured vegetable protein (TVP)
- 1.5 cups chopped spring onions
- 2 cups diced Chinese cabbage
- 2 thumb of ginger, minced
- 1/2 cup diced shiitake mushroom
- 1.5 cup diced cremini mushroom
- 1/3 cup green peas
- 1 cup chopped up and soaked vermicelli noodles
Flavourings
- 2 tbsp corn starch
- 2 tbsp water
- 1/4 cup vegetable oil
- 2 tbsp dark soy sauce
- 3 tbsp light soy sauce
- 1 tsp white pepper
- 1 tbsp salt
- 1 tbsp sugar
Method
1. Mixing the filling together and adding the flavourings to taste. I kept stirring the mixture until it became more sticky and more of a mushy texture. The mixture starts off a bit crumbly and dry but the salt allows the water to come out of the veggies to make it stickier.


The most time consuming part is chopping everything into small, diced sized pieces.
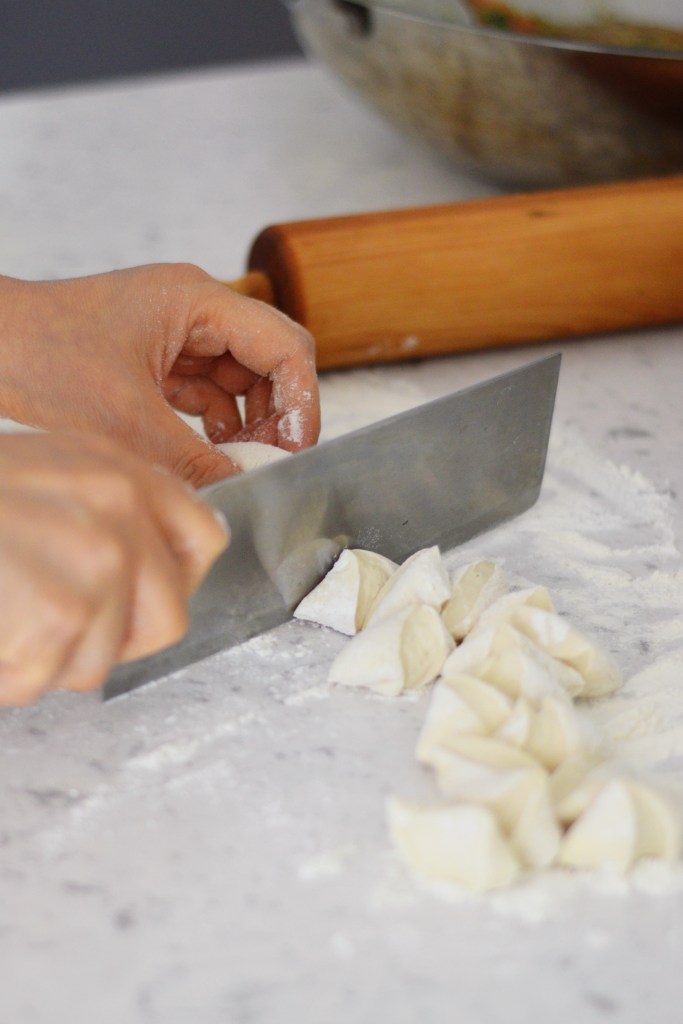
2. Cutting and rolling the dough into small, flat circles. The dough was a combination of plain flour, water and a bit of salt and was made in the morning by my parents. You can skip this by using store bought dumpling skin but you will need to add water to the edges to seal them when you fold them up.
My mum was the director of the whole process and also rolled out the dough for us to fill. She rolls them out into flat circles crazy fast, which was good so my sister and I barely had to wait in between folding up the dumplings.
3. Folding the dumplings. It’s so interesting to see the different ‘personalities’ show with different methods of folding from different people. I can sometimes recognise which ones have been made by different people in my family. The method I used was putting a little bit of filling in the centre, pressing the top together and then folding up the sides. With homemade dough, it is a lot easier to seal without the use of water as the edges just blend in with each other.

4. Frying the dumplings that were to be eaten on the same day and freezing the rest. My dad was in charge of frying, after my sister and I were getting hungry and felt like a break. We sat down and simply waited for the plates of delicious dumplings to come out every so often. I froze around half of the tray of dumplings and took them home to fry up later. You can also boil them and they create a completely different and satisfying texture which is perfect for soups and a cosy vibe. Just make sure they’re sealed or you’ll have bits floating around.

How to re-fry after freezing them
If you’ve ever cooked dumplings from a frozen pack, it’s the exact same thing. Be careful as the hot oil may spit out when you add the water in.
- Fry up some oil on a pan, tip the frozen dumplings in and give it a fry on the base for a few minutes.
- Then pour half a cup of water into the pan, put the lid on and let it simmer for a few more minutes.
- When the water has evaporated and been soaked up by the dumplings, give the pan a shake to ensure they haven’t stuck to the pan.
- Continue frying on all sides of the dumplings until they’re crispy.
Make sure to tag me at @cookwithpez on Instagram to show me your delicious creations!
